Sketch…Make…Build…Create shoes.

Over the past month, the art studio has seen Year 6 sketch and make shoes. A collection of my footwear was made available for reference-baseball boots, trainers, pair of Dr Martens, wedges and high heels- and with just corrugated cardboard, newspaper, card, masking tape and a glue gun the cobbling commenced.

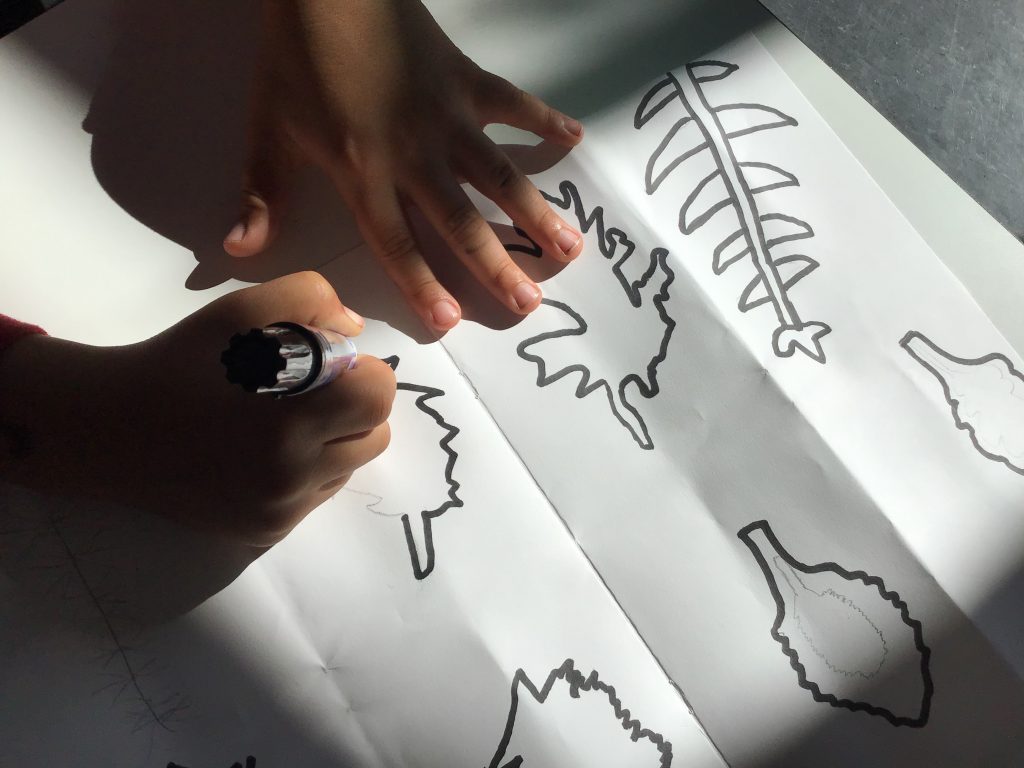
The first week, encouraged Year 6 to look at the shoe in front of them from a variety of viewpoints and yes, it was hard to capture what was in front of our eyes. Where to place the shoe, whether to have the paper landscape or vertical and daring to commit felt tip to paper were just some of the decisions made. The focus was line and there were definite ‘in the pit’ moments. However, by the end of the session impressive, large ‘gestural’ sketches had captured the shoes.

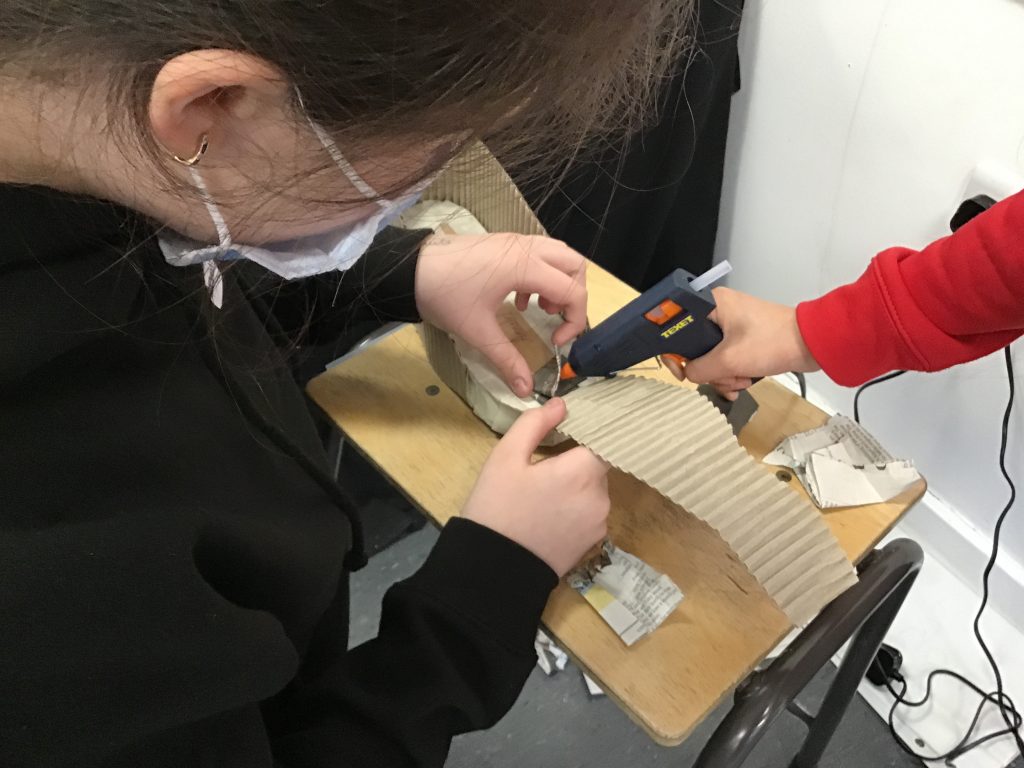
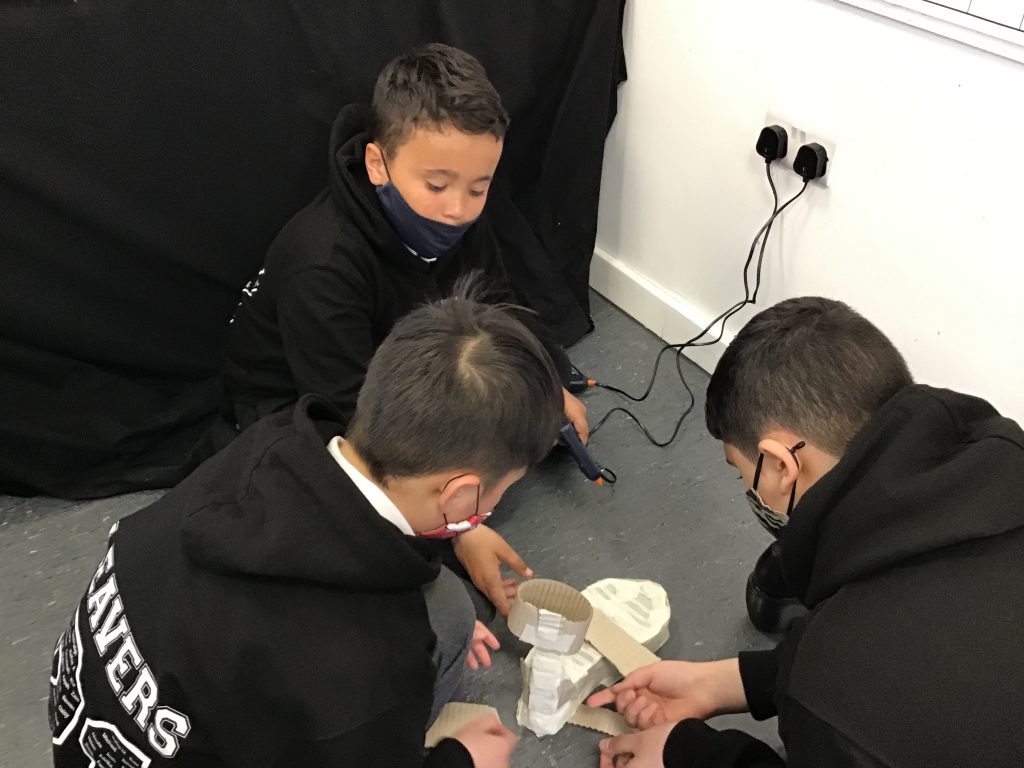
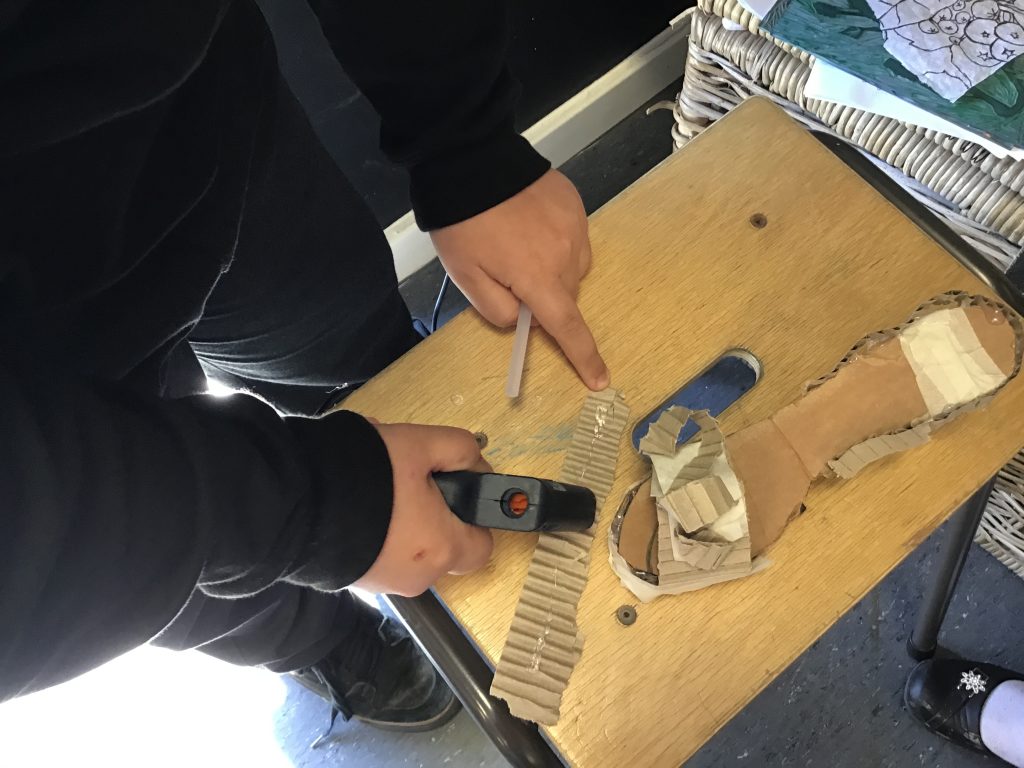
The following couple of weeks presented Year 6 with the challenge of making a shoe with the materials outlined above. Careful observation, using the shoe as a template, problem solving how to create and join the different parts of the shoe and understanding the importance of measuring were done in collaboration with their partner. The teamwork throughout was impressive. In some respects, I felt redundant!

Attention to detail, the determination to create a likeness and the concentration throughout was great to see. The glue gun provided pupils with a quick and effective way to construct and I was proud to see the independence and respect in using it.

Deciding whether to paint, collage or leave the shoe in its cardboard state was again left to the cobblers. Hopefully, you are in agreement that their decisions were spot on.

An unexpected joy, was when a reception child inspired by the artwork she saw in her Read Write Inc sessions in the art studio proceeded to create her own shoe in receptions’ workshop. As a result, she was invited to join in the cobbling with Year 6 and with the support of their expertise created her own wedge shoe.

Lino printing

Well done Year 6. Your lino prints, inspired by the deciduous and evergreen trees on Otley Chevin didn’t disappoint.

The process started with observation; recording what was seen through ‘gestural’ drawings and the exploration of sandwiching different drawing media together. Sketching large and allowing the pen to capture what the eyes saw proved hard for some of us, yet in letting go the autumnal scenes were created. Pastel, pencil crayon, charcoal, felt tip and watercolour were used sensitively to add colour.

By focusing on the outline of one of the tree’s leaves, we made a template. This was then used to make a string of leaves that were stitched into our sketchbook and immediately added depth. Oak, Rowan, Hawthorn, Holly, Sweet Chestnut and Beech were all evidenced across the cohort.

The background was a watercolour wash of an autumnal sky-grey slate and cool blues.

A viewfinder helped us discover a great design within our drawing, which would become the lino print. Transferring the design from the tracing paper onto the lino was somewhat tedious, especially when intricate, but we all persevered. The lines were finally there for cutting into and or around.

We watched the artist Mark Herald at work on his linocuts and saw how nature was his inspiration too.

Thankfully, fingers and thumbs remained behind the blade-on the whole! Focus and concentration, patience and control were integral when cutting away lino to leave the design. Our understanding of negative and positive space certainly improved.

By inking up a number of autumnal sky ‘backgrounds’ on the A5 lino, we reminded ourselves of the inking up process. We had also created a useful register for our lino printing. I was delighted to see Year 6 build up the layers of colour within their prints by cutting away some of their lino each time.  

If you look carefully, you will identify the trees/leaves within each design. Each print is unique and demonstrates incredible skill and patience.

Pumpkin Art

The story ‘Pumpkin Soup’ by Helen Cooper transformed the home corner into the old white cabin and inspired creativity in all three Reception classes.

A variety of misshapen and colourful pumpkins provided the still life. Texture, line and colour were captured through a variety of drawing materials (including watercolours) and the children were encouraged to ‘sandwich’ these materials by layering, smudging and careful mark making.

Thank you Mrs Willis, Mr Woolley and Miss Thompson for encouraging our artists to notice the knobbly, lumpy pumpkins and drawing attention to the stripes, dots, lines and colours of the skins.

Marvellous Me

What a privilege it has been to work with Reception over the past few weeks. We have discovered so much about these wonderful individuals who have so much to share about themselves and the special people in their lives as well as their interests and likes. Their special box was the vehicle that opened up who they are to their class and teachers.

Inspired by the artist and educator Anna Linch’s Self-portraiture photography, the Reception team decided to set up a space, where each child could decide on their own poses in front of a white sheet and carefully consider the placement of their objects. Hopefully you agree that their self-portrait represented who they are as a person and how unique and fantastic each child is.  

In addition, each child has drawn their own self-portrait in black felt tip. As you can see, a mirror enabled them to look at their splendid selves. Their mark making/drawings shared how they saw themselves, their preferred hand to draw with as well as their schema development.